Photographing the Northern Lights

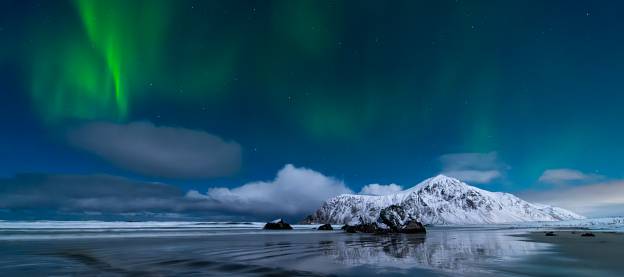
I took my first shot of the Northern Lights during my Lofoten trip back in 2017. To be prepared, I read numerous guides. But even now - after many trips - I still learn new things. Let me share my personal experience while I will not claim to present the ultimate truth.
Where and when to shoot the Northern Lights?
Let's start with the place. In general, you want to travel to somewhere north of the polar circle. Popular places in Norway are Lofoten islands or the area of Tromsø, Abisko in Sweden is also very popular and Island and northern Finnland of couse as well. Due to the current location of the magnetic pole, North America is even better but I haven't been there in winter and cannot recommend any places. Besides that, you just need to be lucky to widness that spectacle.
Continuing with the season, Northern Lights can be seen from around mid September to end of March. Actually, this depends on the particular place. The more north you are, the longer the season. That's due to the fact that the night get's longer during winter season in direction to the north pole. But as you will see later on, winter season will give you plenty of time.
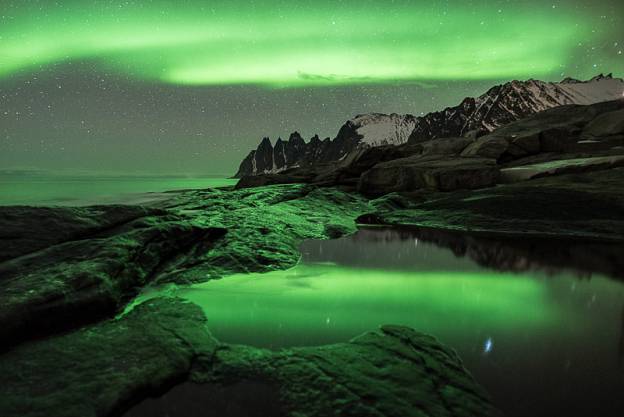
When some friends and me planned our first winter trips to Northern Norway, we aimed for new moon to get an almost dark sky and undistracted Aurora. But my third trip completey changed my mind and now I prefer having some moon over the horizon to Illuminate the landscape. For me, the Northern Lights are just one element of a photo that complements the actual landscape. Thus, when shooting during new moon, there is very little light on the landscape. In order to get the landscape properly exposed, you need an extremely long exposure time. In addition to that, the entire landscape is almost green only. That might be nice in some shots, but can be boring over time. Instead, I found out that full moon or at least something close to that lightens up the landscape and provides a greater variety of colours. Check out the following two photos - taken on the very same spot - to see the difference. The first one is taken at new moon and the second at full moon. I am absolutely in favour of the second one due to its more diverse colours.
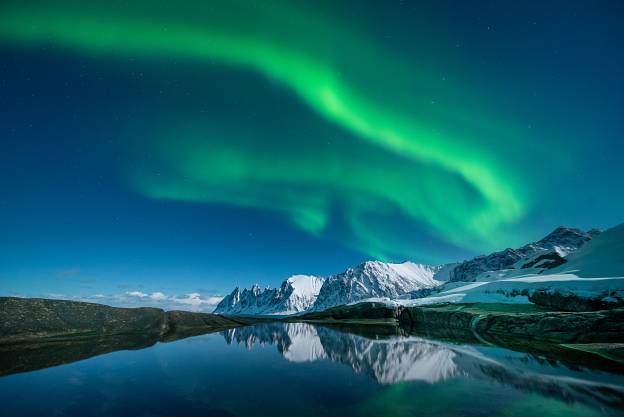
Do YOU prefer one kind of light?
Keep in mind, I am always talking about my preferences for photographing the northern lights. If you want to witness those with your own eyes, I absolutely recommend travel at new moon. The lights will shine more intensely and can even throw shadows.
There is another advantage of full moon or at least a partial one: Your eyes have less effort to adjust to the dark. Not only will this prevent some accidents, but also ease your composition. Do you think I am too lazy? :-)
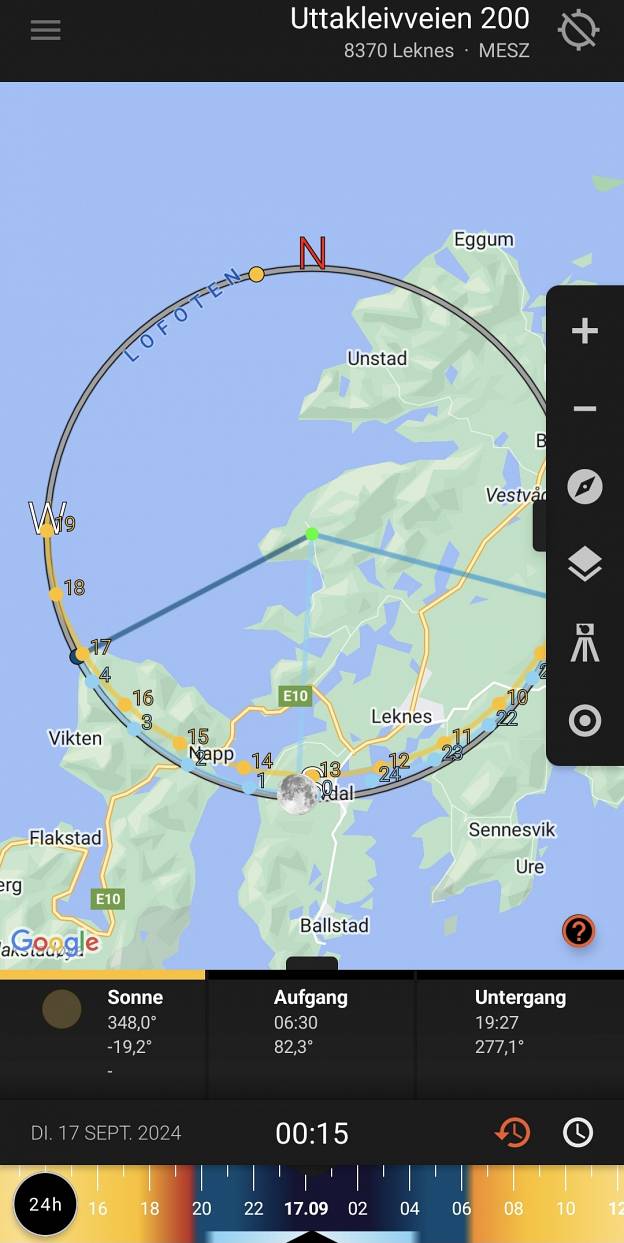
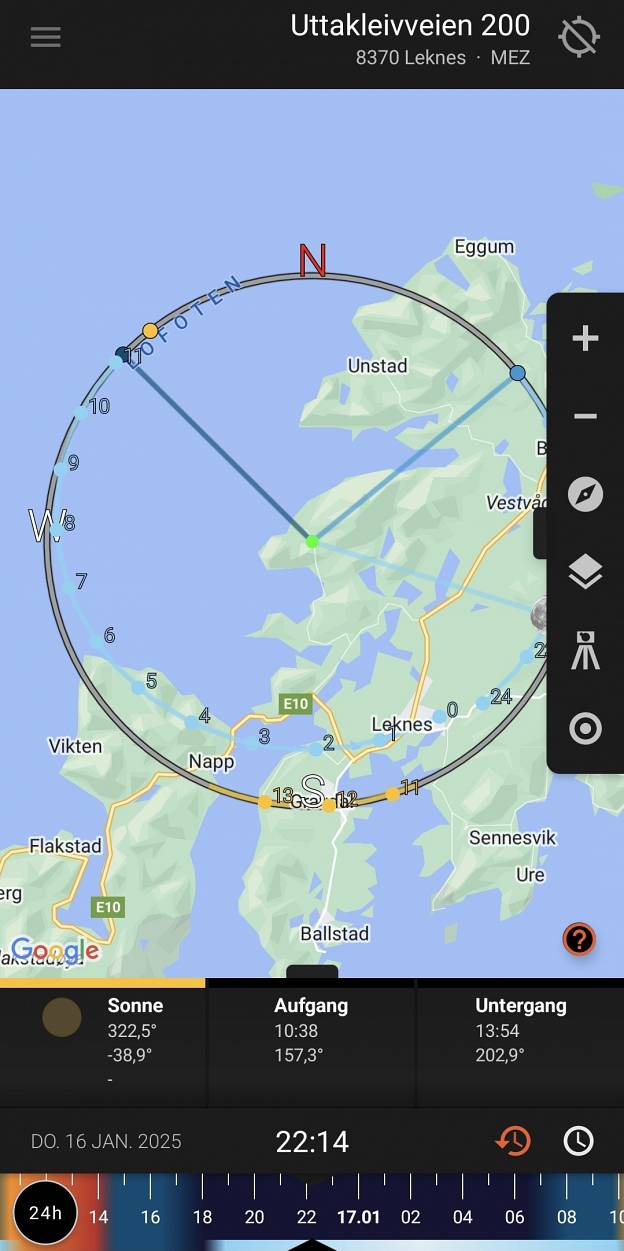
When you are planning your trip, I recommend using apps like Sunsurveior to determine the duration of darkness at night. Take a look at the following screenshots I took from Sunsurveior. The first one if from September. The time of darkness is roughly between 11PM and 2AM. But in January you have a dark sky between 6PM and 6AM. That longer time frame gives you way more possibilities and maybe some more sleep as well.
What focal length?
So maybe you are a tech guy as I am and look for the perfect gear. Let me tell you, all options come with compromises. When I started photographing the Northern Lights, I had a Sigma 1.4/24mm for my Nikon D750 and felt this lens might be a good one for Aurora. While I loved the bright aperture of that little monster, the focal length was somehow limiting. During that trip in 2017 the Aurora was sometimes quite low on the horizon and in those cases, I could also get some good shots even in landscape orientation. Let me shorten my learning curve for you a bit. I switched from the Sigma 1.4/24 to the 1.4/20, then to the Nikon 1.8/20 and now I am using a manual Tokina 2.0/20 together with a Laowa 2.8/12. I love the versatility of that combination (12mm and 20mm) and found it to be a very good compromise between brightness, focal lengths and weight. Sometimes my gear acquisition syndrome makes me considering a 1.4/35 for some more compressed compositions. Let's see, if I am willing to carry that additional weight.
So, would I recommend this kind of setup to you as well? For me, it works. There are a lot of photographers out there, using a 2,8/14-24 (or similar). And maybe this would also be my go to lens for Aurora, if I didn't have the Nikon 4/14-30. A lens, that I love during daytime because a 100mm filter holder can be mounted. A 2,8/14-24 is probably the most flexible option and meanwhile using AI noise reduction combined with the incredible low light performance of current sensors, one stop less is not an issue anymore.
Finding the right composition
As the name suggests, Northern Lights are coming from the north. For the beginning, go for a subject where you can point the camera to the north. That's the theory. It totally depends on the intensity and many other factors. If you are lucky, the lights are right above you and you will also be able to include them in west or east oriented compositions.
Focus stacking and Northern Lights - not an easy thing
Although wide angle lenses have a good depth of field, this is not the case wide open. When focussing on the stars at 20mm and aperture 2.0 or brighter, in most cases even the mountains are out of focus - not to mention the field curvature of the Laowa 2.8/12mm. Thus, I do focus stacking in almost every shot of the northern lights to get the main subjects in my image as sharp as possible.
For me, changing the focus for stacking is very hard in the dark. During daytime, I often use the focus bracketing of my Z7 II, but struggled with it in the night and therefore prefer doing that manually. Take a look at the box below to see, how I added some markings on my lens for focus bracketing. Let me know, if you have some good experience with automatic focus bracketing in Aurora photography.
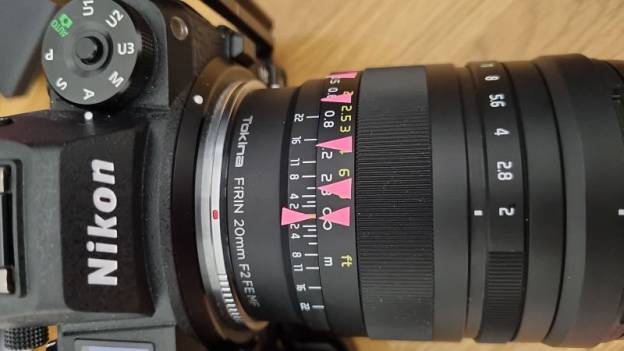
Markings for focus stacking at night
One of my two lenses I use for Northern Lights, is the Tokina FiRIN 2.0/20 manual focus for Sony FE with adapter on my Nikon Z7 II.
As you see, I added some markings using flourescent tape on that lens for focus stacking. The marking at infinity is for focus on aurora and stars using the lens wide open. Afterwards I stop down to 8 and do focus stacking using the other markings. I might stop down to f 11 but that would double my exposure time but not halven the number of shots. So I decided to have some more work in postprocessing and save time on location.
Unfortunately I sometimes forget to put the lens under a light before I go out shooting Aurora, so the tape does not light up. Luckily, even a dim light from my phone helps activating the tape for some seconds.
What other gear?
As you will be shooting at night, a headlamp is a must. You don't want to risk stumbeling over a rock or fall into water. But do not forget to switch it off as soon as you arrived at your spot. Even the red light will destroy your photos, as it is too bright. But more over, you will make some new enemies among the other photographers next to you.
Most of you will be out for Northern Lights in winter season. Bring some warm gloves, warm clothes in general and shoes in particular. I personally travel with two different pair of shoos. One pair of winter boots, that is warm and has a proper shoe sole, and another pair of insulated rubber boots. The rubber boots allow me to stand in shallow water for a long time to get nice reflections. This way, I also have backup if one got wet - which happens quite often to me.
There is one piece of equipment you should never forget during winter trips: a pair of ice cleats. A good friend of mine forgot to bring his ice cleats at our trip to Senja in 2018. As it was very dark (You remember, that we initially went for new moon?), he did not see an icy rock at Tungeneset and fell into a pool. Luckily, it was only a pool and not the ocean. Unfortunately, it was the second day of the trip and he had to continue with an ankle bruise. Those ice cleats are neither expensive nor heavy. There is almost no reason to avoid using them. I even have them on my shoes when walking on harsh snow, as that tends to get slippery due to its compression.
On location
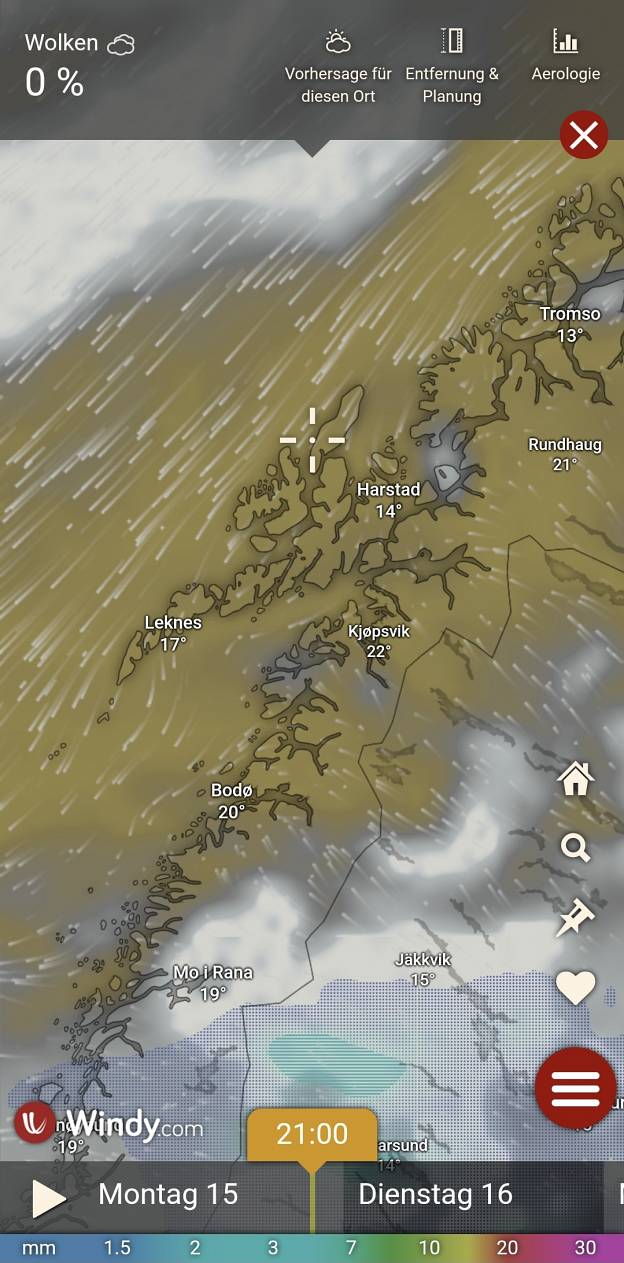
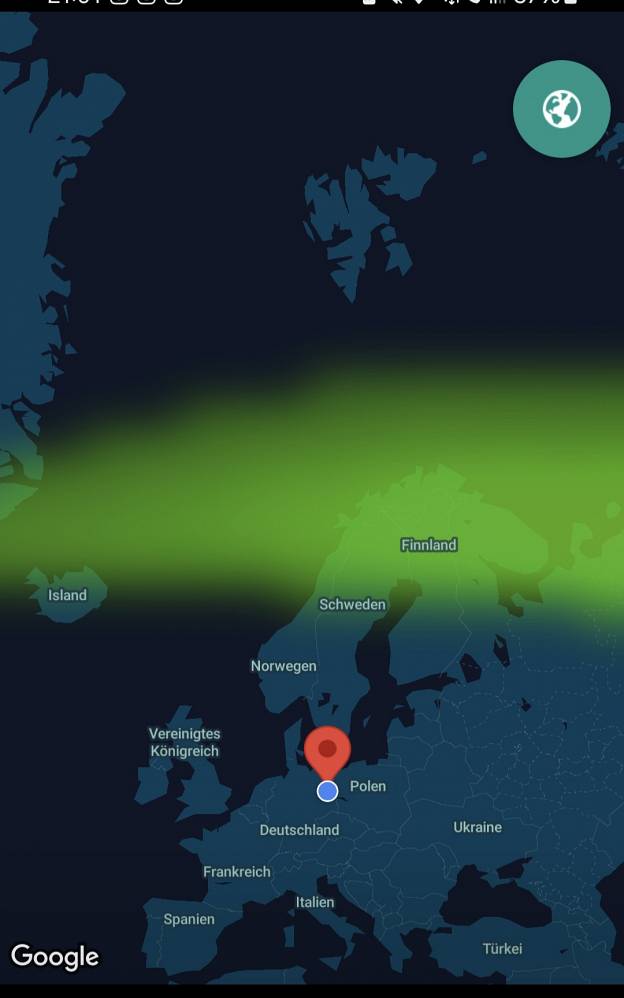
There are plenty of useful apps to observe the intensity of the northern lights. Some will only show you some numbers, other useful forecasts and other data. It es important to keep an eye on the weather forecast and especially the clouds. Therefore, I absolutely recommend the app "Windy". You not enjoy the perfect aurora, if there is a hughe cloud right above you. Consider driving an hour, sometimes just to the next valley or fjord where you have a clear sky.
